
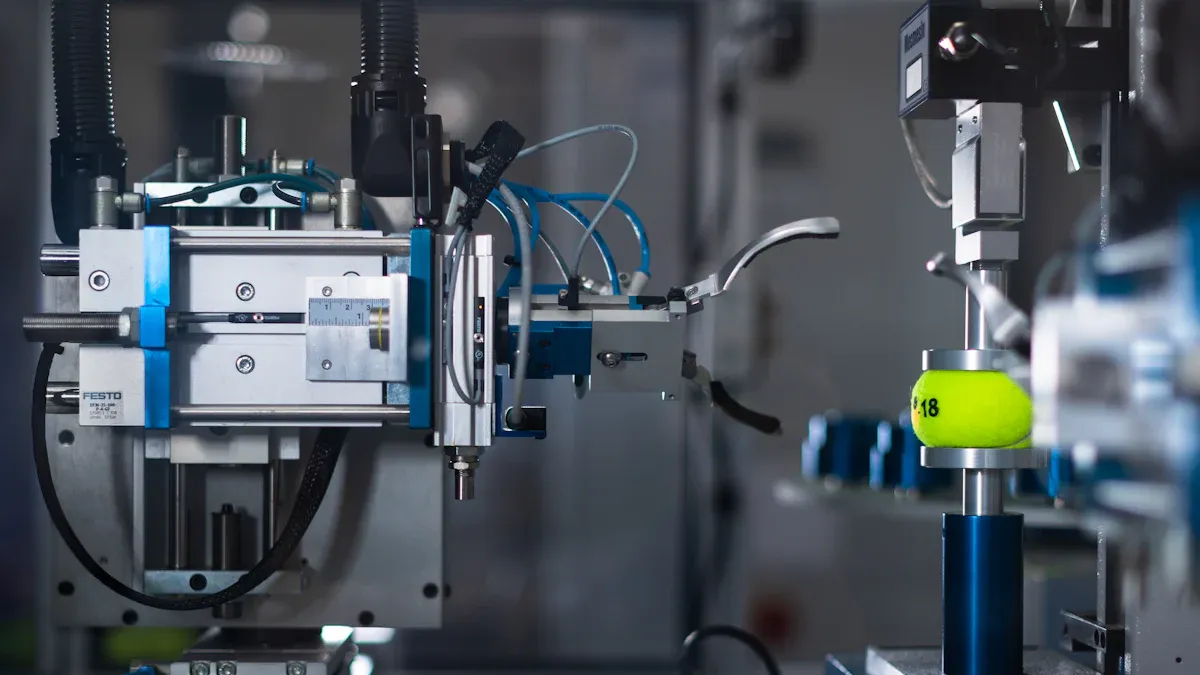
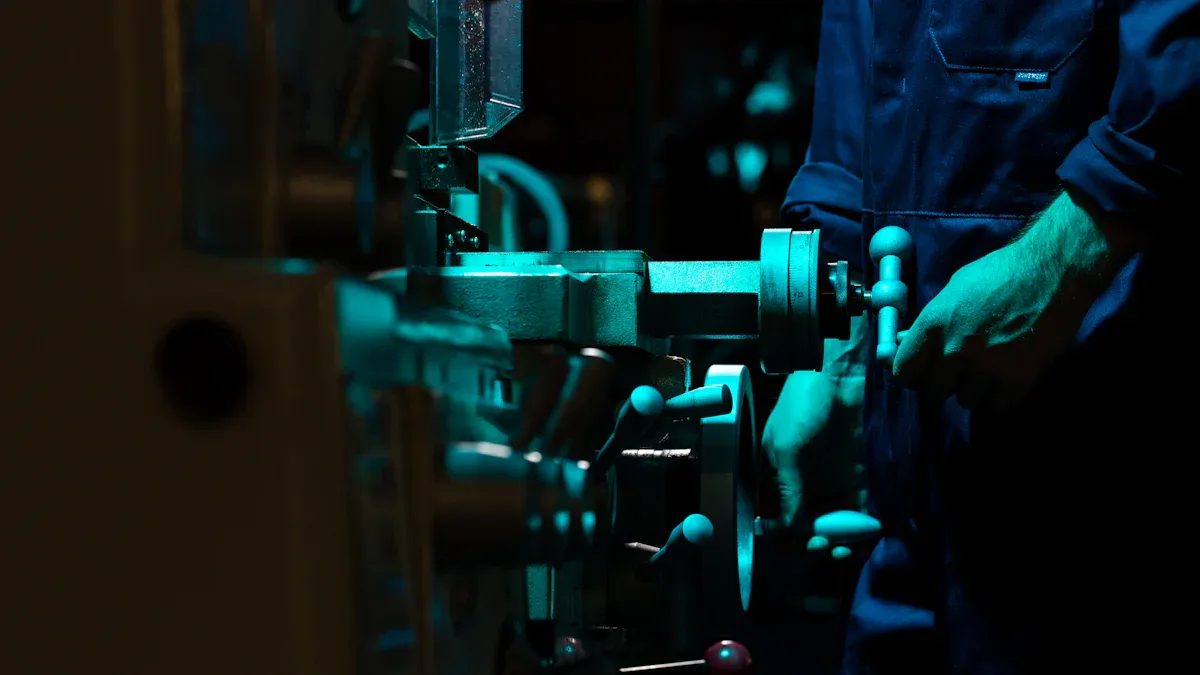
Replacing a Barrel Of Injection Moulding Machine requires careful attention and precision. Workers must wear protective gear to ensure safety throughout the process. Since the Injection Molding Machine Screw Barrel can reach extremely high temperatures, proper cooling measures are essential. Many professionals rely on the Injection Moulding Screw Barrel to maintain optimal machine performance. Prioritizing safety is always critical when handling an Injection Screw Barrel.
Injection Screw Barrel Preparation and Safety
Gather Required Tools and Personal Protective Equipment
Before starting, workers should gather all necessary tools and personal protective equipment (PPE). This includes wrenches, torque tools, and cleaning supplies. PPE like safety glasses, heat-resistant gloves, and steel-toed boots are essential to protect against burns, splashes, and falling objects. Industry standards, such as ANSI Z87.1 for eye protection, emphasize the importance of properly fitting PPE to ensure safety and comfort. Employers must provide this equipment free of charge and train workers on its correct use.
Manufacturers design PPE to meet strict safety regulations, ensuring it fits a diverse workforce. Adjustable options are available to accommodate different sizes, making it easier for workers to stay protected while handling the Injection Screw Barrel.
Lockout/Tagout and Cool Down the Machine
Lockout/tagout procedures are critical to prevent accidental machine activation during maintenance. Workers should disconnect the machine from its power source and attach a visible lock or tag to indicate it is out of service. Allow the machine to cool completely before proceeding. This step reduces the risk of burns from residual heat in the barrel or screw.
Safety guidelines, such as those outlined in ANSI/SPI B151.1, highlight the importance of these procedures. They prevent electrocution and mechanical hazards, ensuring a safer work environment.
Inspect Work Area and Review Manufacturer Instructions
A clean and organized workspace minimizes risks. Workers should remove any clutter or obstacles that could interfere with the process. Reviewing the manufacturer’s instructions is equally important. These documents provide specific guidance on disassembly, torque specifications, and reassembly.
Safety audits often recommend using customized checklists based on manufacturer manuals. This ensures all steps are followed correctly and reduces the chance of errors. Proper preparation and adherence to instructions create a safer and more efficient replacement process.
Injection Screw Barrel Disassembly and Installation
Remove Covers, Guards, and Heater Bands
First, workers start by removing all covers and guards from the machine. They use the right tools to unscrew and lift away these parts. Heater bands often wrap around the Injection Screw Barrel, so workers must loosen and slide them off carefully. This step exposes the barrel and screw assembly. Removing these parts helps prevent damage and gives clear access for the next steps.
Tip: Keep all screws and small parts in a labeled container. This makes reassembly much easier later.
Disconnect Thermocouples and Electrical Connections
Next, workers disconnect the thermocouples and any electrical connections attached to the barrel. They check each wire and label them if needed. This prevents confusion during reinstallation. Safety comes first, so they make sure the machine stays powered off during this step. Careful handling of wires and connectors helps avoid damage.
Unbolt and Support the Barrel Assembly
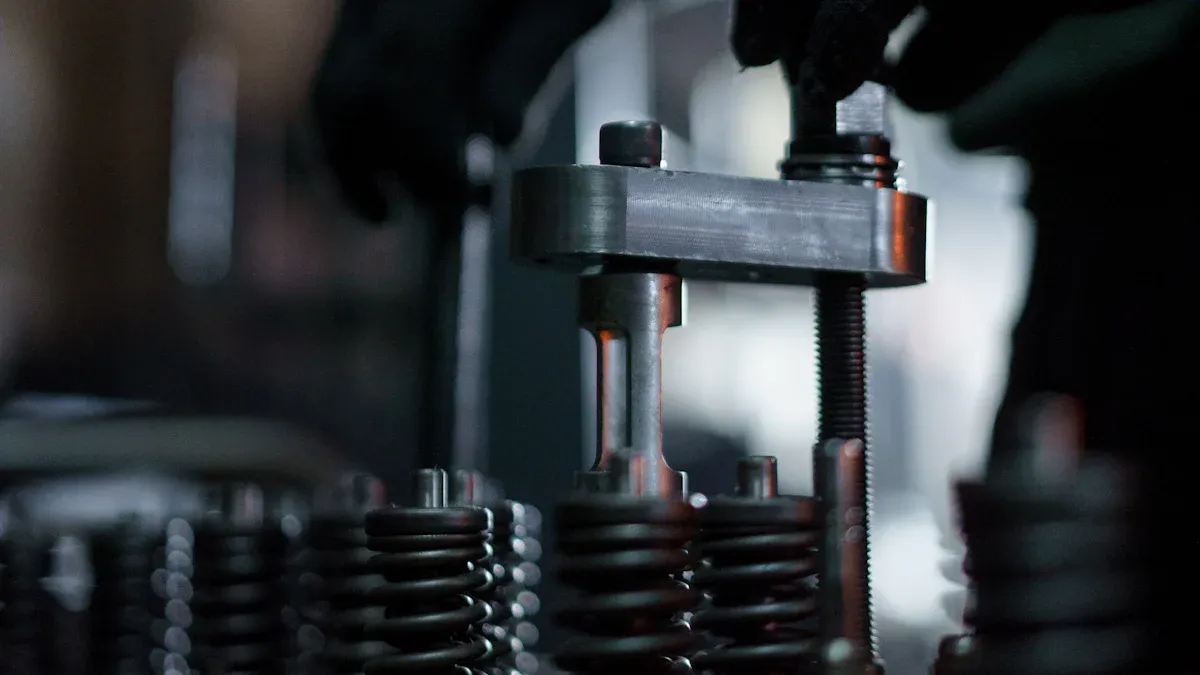
Workers then locate the bolts that secure the barrel assembly to the machine. They use the correct wrenches to loosen and remove these bolts. The barrel can be heavy, so they support it with a lifting device or a sturdy stand. This keeps the barrel steady and prevents accidents. Supporting the barrel also protects the screw inside from bending or damage.
Withdraw the Screw and Remove the Barrel
Now, it is time to withdraw the screw and remove the barrel. Workers follow a step-by-step process, starting with the removal of any remaining guards or seals. They gently pull the screw out, making sure not to scratch or bend it. After the screw is out, they slide the Injection Screw Barrel away from the machine. Many guides, like those for the Absolute Haitian Mars II machine, describe this process in detail. These guides focus on safety and the correct order of removal, but they do not compare different methods. Workers rely on these instructions to avoid mistakes and keep the equipment safe.
Clean and Inspect Mounting Surfaces
With the old barrel removed, workers clean the mounting surfaces. They use brushes and cloths to wipe away any debris or old lubricant. A clean surface helps the new Injection Screw Barrel fit tightly and work well. Workers also inspect the area for any signs of wear or damage. If they find any problems, they fix them before moving on.
Install and Align the New Injection Screw Barrel
Installing the new Injection Screw Barrel takes patience and precision. Workers slide the new barrel into place, making sure it lines up with the screw and the machine frame. Manufacturers use strict protocols, like Installation Qualification (IQ), to check that the barrel meets all design and alignment standards. Workers measure the alignment carefully. The total out-of-alignment error must stay less than half the clearance between the screw and barrel. This keeps the screw centered and helps the machine run smoothly.
Note: Proper alignment reduces wear and prevents rejects during production.
Secure Fasteners and Apply Correct Torque
Once the barrel is in place, workers secure it with bolts. They use a torque wrench to tighten each bolt to the correct value. Applying the right torque is important. It keeps the barrel secure without damaging the threads or causing leaks. Engineers set torque values based on tests and calculations. Workers use calibrated tools and follow a step-by-step tightening pattern. They may also record the torque values for quality control. Using the right torque helps the Injection Screw Barrel last longer and work safely.
- Torque depends on factors like lubrication and bolt type.
- Workers choose a torque wrench that matches the required range.
- They adjust settings if they use any extensions on the wrench.
Reconnect Heaters, Thermocouples, and Guards
After securing the barrel, workers reconnect the heater bands, thermocouples, and all electrical connections. They double-check each wire and connector for a snug fit. Safety guides recommend using protective gloves and sleeves during this step. Workers replace all covers and guards, making sure everything sits in the right place. These steps protect both the machine and the people who use it.
Perform Final Safety Checks and Test Run
Before starting the machine, workers perform a final safety check. They inspect all connections, bolts, and covers. If everything looks good, they power up the machine and run a test cycle. This test helps spot any leaks, noises, or alignment issues. If the Injection Screw Barrel works well, the machine is ready for regular use.
Reminder: Always follow the manufacturer’s checklist for final inspections and test runs.
Replacing an Injection Screw Barrel takes patience and care. Workers should follow each step and always put safety first. They check the manufacturer’s guide for details. Regular checks and cleaning help the machine last longer.
Remember, a well-maintained Injection Screw Barrel keeps production running smoothly.
FAQ
How often should someone replace an injection screw barrel?
Most experts suggest checking the barrel every year. If they see wear or damage, they should replace it right away.
Tip: Regular checks help prevent machine problems.
What tools does a worker need for this job?
A worker needs wrenches, torque tools, cleaning brushes, and safety gear. Labels for wires also help during reassembly.
Can one person replace the barrel alone?
No, the barrel is heavy. Workers should always use a team or lifting device for safety.
Post time: Jun-13-2025